heading

Mission: Sew vintage style, sew to upcycle, sew modern, sew innovative, sew gifts, sew for love, sew for good, sew for fun - Sew New, Sew Old, Sew Fun!

Friday, April 20, 2012

Moy Gown

Soooo, when I was about 15 years younger and the internet was newer, I remember stumbling across something called the "Moy Gown" on a history page. A history page complete with awful 90's style graphics and gifs. The awful layout aside, I was so interested and intrigued in the story of the gown, and the pieces that remained of it. I have a lot of Irish heritage and so it just called to me. Ever since I've read about the gown from time to time, it's just been sticking there in the back of my mind.

In the meantime - I've grown as a seamstress - to a point where I could probably draft my own pattern for the gown, if I truly wished to. However, I don't feel like I have enough of the proper information to do that quite yet, so to suffice until I reach that point, I found Reconstructing History 313.
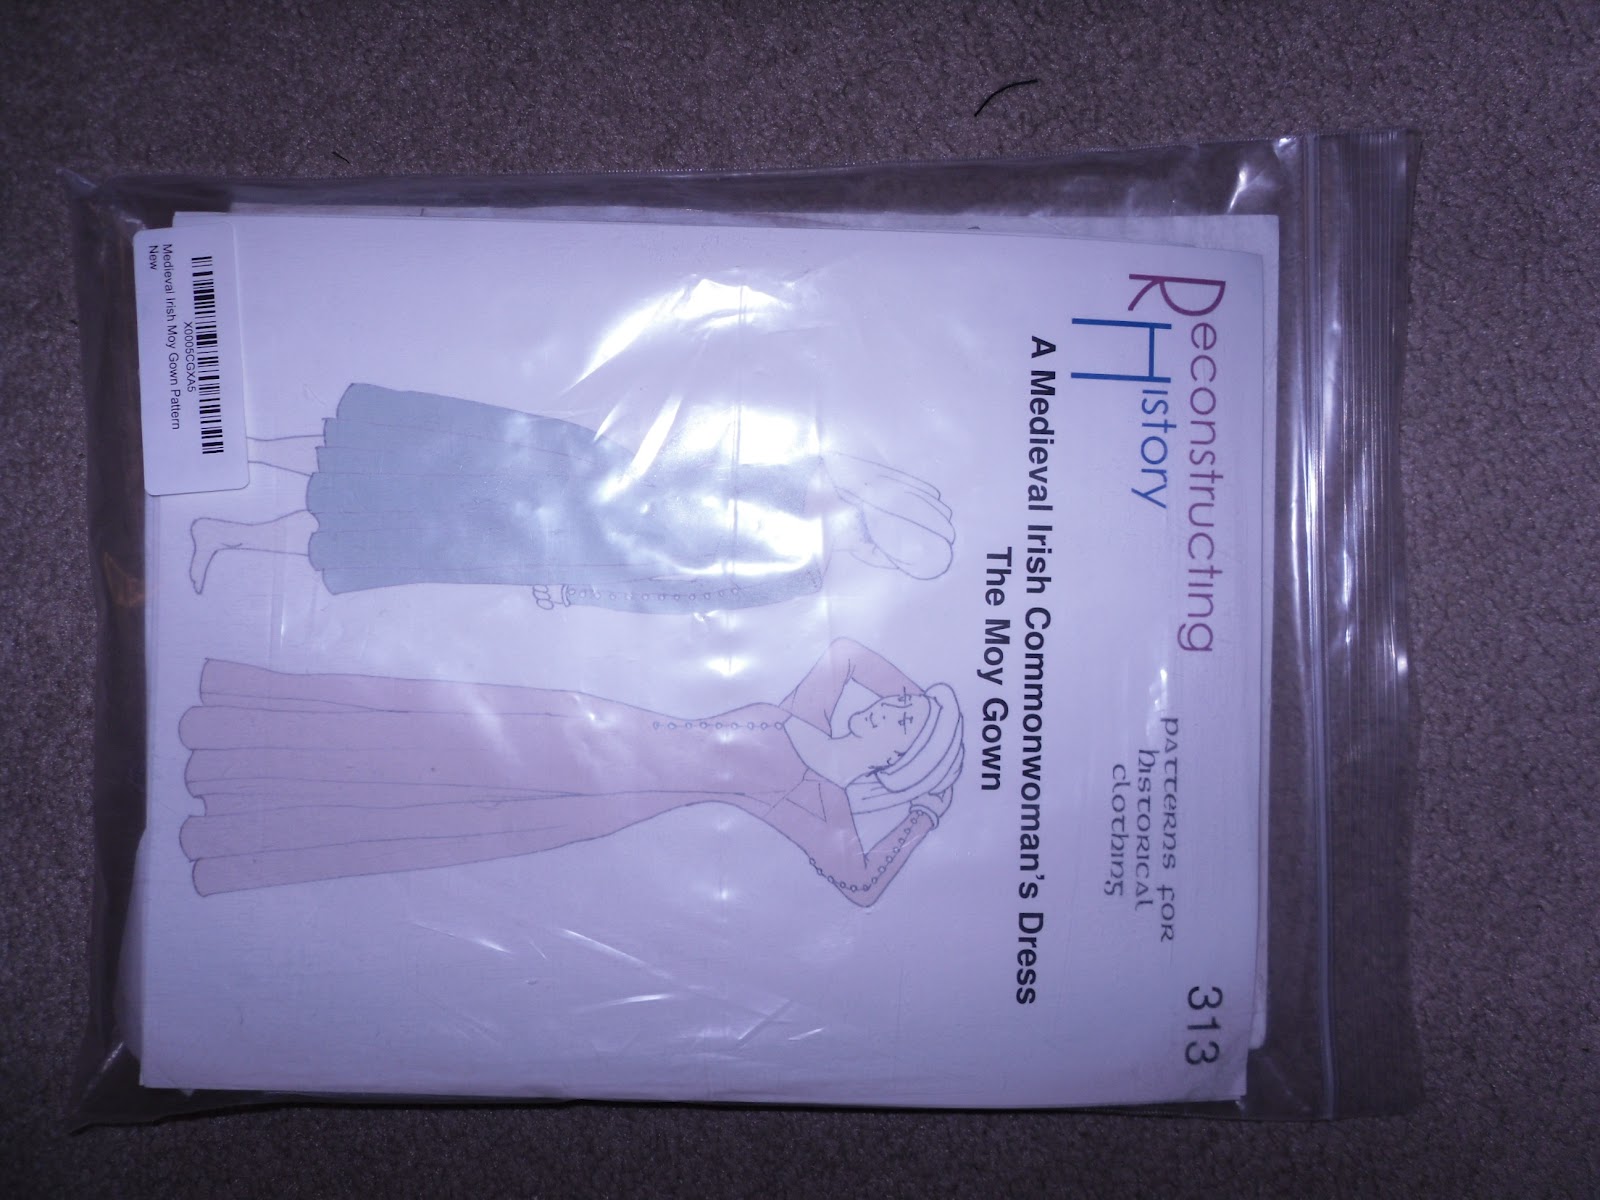
Reconstructing History 313 - The Moy Gown


The back of the pattern package.
I've got a whole lot of complaints about this pattern, but most of them come from the the fact that it is still not accessible to most sewers because of the lack of instructions, etc. It will quickly be outside of the level of many, many people who fancy themselves quite good with a needle and thread. I fancy myself quite good, and I have had my fair share of difficulties in fitting already.

But I'm getting ahead of myself - I am sad to say, that my local Joann's is going out of business. I know that their wool is not historically accurate, but at 90% off, so I bought a bolt of 8 yards for less than $20, I can't complain too much, right? I bought the last of what they had, amassing myself roughly 8 yards each of black, red, and brown wool. At that price, I figured, "Sure! Now's as good a time as any to tackle this Moy Gown pattern!" And being to tackle it I have!

What's left of my 8 yard bolt of brown wool. Such a steal.

I always seem to forget to take pictures until part way along the process, so I don't have the pieces cut out and unassembled or any of that other good stuff, but I did get a picture of how many pattern pieces you get.
There are 9 pattern pieces in all, two of which you are instructed to tape together before you cut out your fabric so that there is no seam between the back and the shoulder straps. 

The pattern pieces.

You get two packets of a few pages each.
One is the history of the gown, the other the scant instructions.

I have always fit perfectly into a preprinted size due to my God given luck with my body measurements. This time was no different, according to the package, so I cut out the size I called for and cut out my pieces from my wool. I rarely (as in, never) bother with a mock up, though it is a good practice, indeed. I find it saves me time to just make any necessary fitting adjustments on the final garment. Even with the very rare event that a pattern cuts a bit small for me, there is always ample room to be gained in the seam allowances. This has proven to save me time and money (on the muslin) up until this point. This time, however, it was almost a tragedy. 

I had skimmed the directions a few times before I cut my pieces. However, I prefer to cut all my pieces at once and then assemble. This was almost important because my husband laid claim to the remaining brown wool for a Viking era Kaftan. So, I went and cut my pieces out. 

THEN too late, I realized that my front, back and gore pieces only came a bit below my knees. WHAT?! I was heart broken. It only says once in the instructions, and quite far in to the sewing directions - that you are to adjust the length to where you want it. The pattern cover shows both a short gown and a long gown. I am so accustomed to patterns, even vintage ones, being made in the LONGER length with a marking to cut for the SHORTER gown, I didn't even think twice about cutting out this one. It is my fault, however, I want others to be well aware so they do not make the same mistake I did. 

Luckily I had plenty of fabric to just recut at the proper length I wanted. I got very lucky in that with my husband being tall, the short gores are just the right length for his Viking kaftan, so they will not go to waste. Also the front and back sections will easily become a sleeve or something else for his kaftan, so my mistake caused no waste. I was lucky. 

I decided just to machine everything except for hems and the visible stitching. I was going to hand sew the garment, but with the wool not being a historical quality, it just seemed like an awful waste, what with the gores, It would take forever. The gown works up pretty quickly. I still have to press seams and everything. There is also a lot of fitting that I will like to do to create the best fit and remove some odd wrinkles. Here is where I am at:


The front is held together with pins.
 Some fitting needs done yet. 

Here is the famous back with its odd cut. 

The back gore.
I need to see if once the front closure is finished the puckering will go away,
if not, I need to readjust to get rid of it. I think it's very ugly. 

Here you can see the front sleeve gores and the strap.
This all still needs pressed and might need adjusting in the end.

Here are the sides with the upper cores and the underarm area. 


A few of the self stuffed buttons I have finished for the front of the gown.
Here are the circles of wool I am using to achieve this size button.


 I am at the point where I have to finish all the tons of buttons for the front and the sleeves. I will have to add the buttons to the gown, add the buttonholes, finish the edges and hem the gown. I will also undoubtedly need to do some more fitting to ensure I have an accurate, yet flattering gown. I still have much work to do, but it is coming together quite well. 

Tuesday, September 20, 2011

Fall Palette Fabrics and Patterns

Colette Patterns Fall Palette Challenge

Well, a few hours later I rumaged through unused patterns purchased over the past few years of .99 cent sales and bargain bin fabrics. I have arranged a colour palette that I quite like and I find remicent of the early days of autumn. Many of the pieces will work into winter, spring and summer as well. I like to create pieces that can be used for more than one season, when I can. I heavily rely on greys and purples with some browns, blues and a nice rust colour thrown into the mix. I have so many patterns I'd LOVE to sew that my line up is VERY ambitious. I will, I dare say, NOT finish this undertaking before the challenge is "officially" over, but I won't worry about that. The main thing is that I get some wonderful new items that I love, AND use some of my stash. I have even thrown a (non colour pallette) Halloween costume into the mix for myself! Drum roll please! The patterns are:

Simplicity 2305 Cynthia Rowley - View B dress, View D skirt
Simplicity 4044 Retro - View A jacket, View C skirt, View D trousers
Simplicity 3673 Retro - View B jumper
Simplicity 3688 Retro - View A blouse
Simplicity 2848 Project Runway - "Pleated jumper"
Simplicity 2263 Threads - View A blouse, View B skirt
Simplicity 2211 Lisette - View A skirt, View B skirt, View E top
Simplicity 3921 - View I capelet

Simplicity 2813 Disney Princess - View A "Snow White"

New Look 6000 - View C dress
New Look 6909 - View C dress, View E dress

McCall's M5759 - View A jacket

Vogue V8740 - View A apron 

The fabrics:


I have heavily used wool in various weights. There are also a few linen look fabrics as well as a lace, silky floral print and a cotton chino. 

Costume fabrics:


Inspiration board, to help me remember what I was going to do:


IF I manage to finish this task I will end up with: 4 dresses, 2 jumpers, 5 skirts, 3 tops, 2 jackets, 1 capelet, 1 pair trousers, 1 apron, and 1 costume. That wouldn't be too shabby!

Now, to get cutting!

Happy sewing!

Fall Palette Challenge

Colette Patterns Fall Palette Challenge

By now, anyone who reads any sewing blogs or news has probably already come across this challenge. There is no winner and it's really just for your own personal benefit. The goal is to think about color and pieces that work together. You then spend your time sewing a unified wardrobe with pieces that will work together.

Being that this challenge is almost more of a suggestion than a real challenge I have decided to work through this challenge for the remaining 10 days of it (a 10 week long challenge) and finish up any time after that when I see fit.

Also, being short on income I have decided to use only patterns and fabrics and as many notions as possible from my stash. This will help me make useful items and clear out some of my fabric bins. I will attempt to find colours that work together in a way that I like, but my main goal will be to sew, sew, sew!

I like dresses and jackets. I love skirts. Tops are a nice touch. I do not usually sew pants, but fabric and notions allowing, I will attempt to add a pair into this mix to help round it out. I prefer to wear dresses and skirts, however. There will likely be a distinctive "retro" or "vintage" vibe to the collection as I love to stock up on as many "vintage" pattern reprints as my pattern housing will allow.

Also, seeing as it is fall, I might throw a Halloween costume into the mix while I'm at it. Who knows?

Happy sewing!

Monday, September 19, 2011

Hedgehog Hoodie

Several weeks ago I woke up at the middle of the night with this idea. I guess you could say it came to me in a dream. I love hedgehogs (and have been spending a lot of time with our Wobbly Hedgehog Syndrome girl, Tumbleweed) and decided I needed a "hedgehog hoodie."

It was clearly visible in my mind. It would have ears and a face on the hood and the body would be some sort of brown fabric to mimic the spikes that cover hedgehogs. It was cute, cuddly and warm. With that in mind I did a scrounge of Joanns and came across a "soft and cuddly" fabric that had little nubs. I decided on a brown with white dots cotton for the lining. I purchased fleece in cream and dark brown for the face and ears. A tan zipper (for contrast) and some cute tan with white whip stitched edges cord round out my supplies. Oh! And two black buttons for eyes.


I really like the cord for the hood. Here's a better picture of it. You can also see the nubs on the fabric a bit better.


I set about cutting out my pieces. I sew enough to know the general idea without really using a pattern or anything. I just sort of cut out the pieces without really measuring or thinking about it. The hoodie would be fully lined and have a kangaroo style front pocket. I ended up with 7 pieces for the hoodie, 7 pieces for the lining, 4 pieces for the ears, 1 face piece and 1 nose piece. The hoodie and lining consisted of: Back, front right, front left, right pocket, left pocket, right sleeve, left sleeve, right hood, left hood. A pretty straightforward design.


To begin I assembled the front and back together (lining as well) and then I moved onto the hoodie. Here you can see the completed hood, lined and with face and cord ready to go. I decided to put the body outer and lining together and then attach the hood by the outer and leave the lining free and hand stitch it down later.


Many hours later I happily finished my "hedgehog hoodie." I am happy with the result. I really like the lining and the contrasting cord and zipper. The hoodie is quite warm and cuddly. It might be better suited to a child, but truthfully, I can't wait to go pick apples this fall and wear it!


 I have decided to affectionately call this model "tumbleweed" once I get it in my etsy store.

Happy sewing!